
Table of Contents
Introduction
WordPress is a popular content management system that allows users to easily create and manage websites. One of the features of WordPress is the ability to upload files, such as images and documents, to your website. However, there is a default maximum upload file size limit set in WordPress that may prevent you from uploading larger files. In this post, we will show you how to increase the maximum upload file size in WordPress.
How to Increase Maximum Upload File Size in WordPress ?
There are a few different ways to increase the maximum upload file size in WordPress, you can follow these steps:
Edit the php.ini file
- Locate the php.ini file in your WordPress installation directory. This file is responsible for configuring various PHP settings.
- Open the file in a text editor.
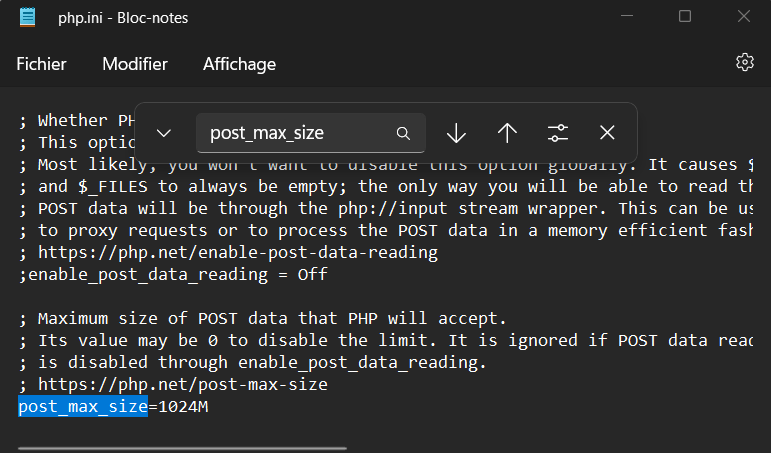
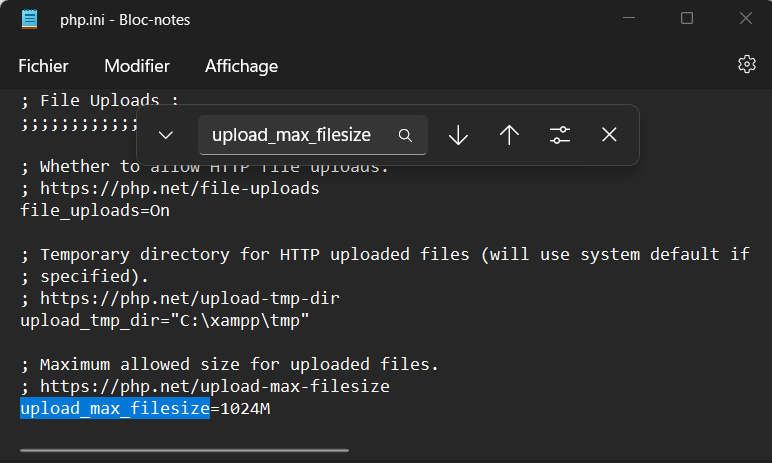
- Use the search function to find the lines that begin with “upload_max_filesize” and “post_max_size”. These lines determine the maximum file size that can be uploaded and the maximum size of POST data, respectively.
- Change the values to your desired maximum upload file size. For example, if you want to increase the limit to 64MB, you can set “upload_max_filesize = 64M” and “post_max_size = 64M”.
- Save the changes.
Edit the .htaccess file
- Locate the .htaccess file in the root folder of your WordPress site. This file is used to configure various Apache web server settings.
- Open the file in a text editor.
- Scroll to the end of the file and add the following lines:
php_value upload_max_filesize 64M
php_value post_max_size 64M
php_value max_execution_time 300
php_value max_input_time 300- Save the changes.
PHP Selector
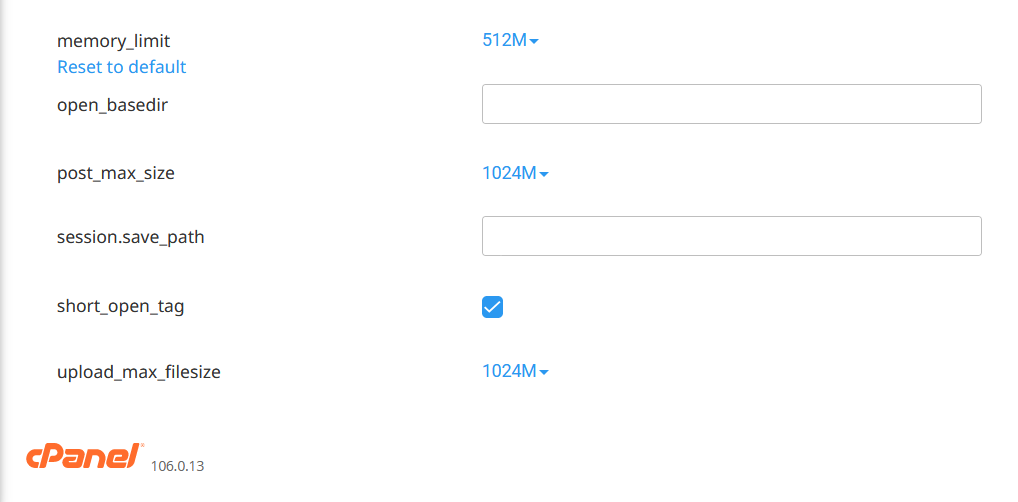
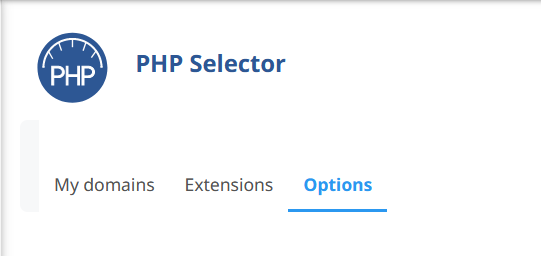
- Another way to increase the maximum upload file size in WordPress is to go to the CPanel provided by your web host. Then use the search bar and search for Select PHP Version and click on it. On the PHP selector click on Option and at the end you can find these options, you can now edit the “upload_max_filesize” and “post_max_size” values to increase the maximum upload file size.

Edit the functions.php file (optional)
- If the above steps don’t work, you can try adding the following code to your theme’s functions.php file. This file is responsible for defining functions and features of your WordPress theme.
@ini_set( 'upload_max_size' , '64M' );
@ini_set( 'post_max_size', '64M');
@ini_set( 'max_execution_time', '300' );
Verify the changes
- After making the necessary changes, it’s important to verify if the maximum upload file size has been increased successfully.
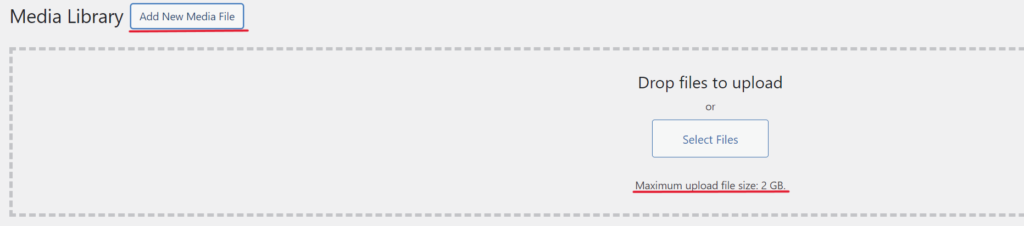
- Go to your WordPress admin area.
- Navigate to Media -> Add New and check if the maximum file size displayed is the one you set.
Conclusion
Remember to save your files and create backups before making any changes. This ensures that you can revert back to the previous settings if anything goes wrong. If you’re not comfortable performing these steps yourself, you can always reach out to your hosting provider or a WordPress expert for assistance.
By following these steps, you can easily increase the maximum upload file size in WordPress and upload larger files to your website. You can visit our blog page for more wordpress tips !